Instructions for Windows
You can mount your Indigo storage space to your Windows computer for easy file access and transfer.
-
Before you begin, make sure you are connected to the Clemson Network.
cautionThis means that you must either be on-campus or connected to CUVPN.
-
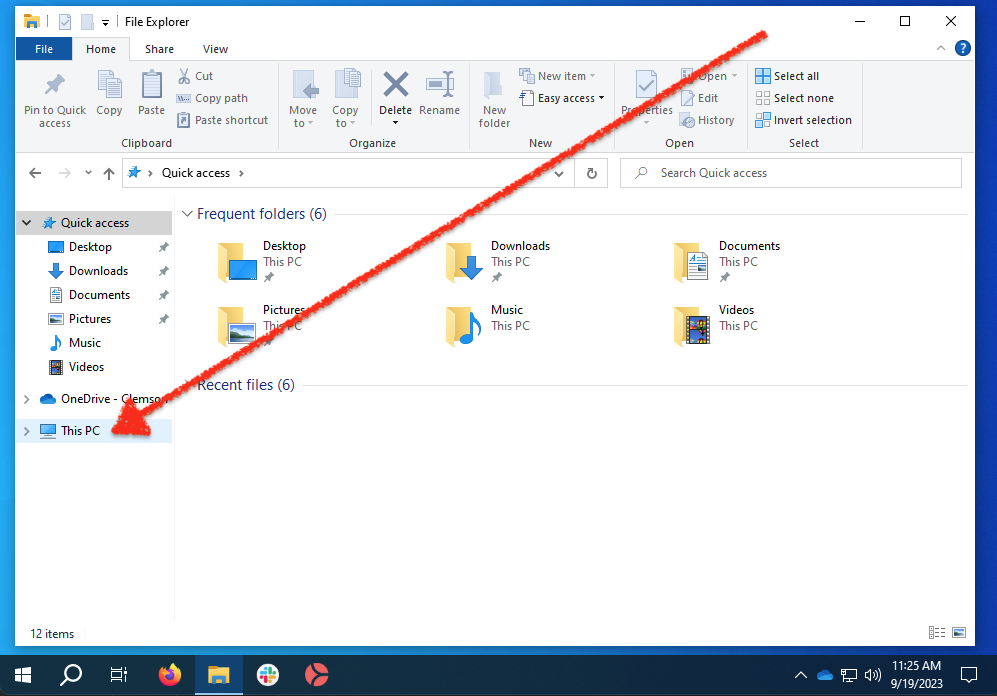
Open the File Explorer.
-
From the sidebar, go to This PC.
-
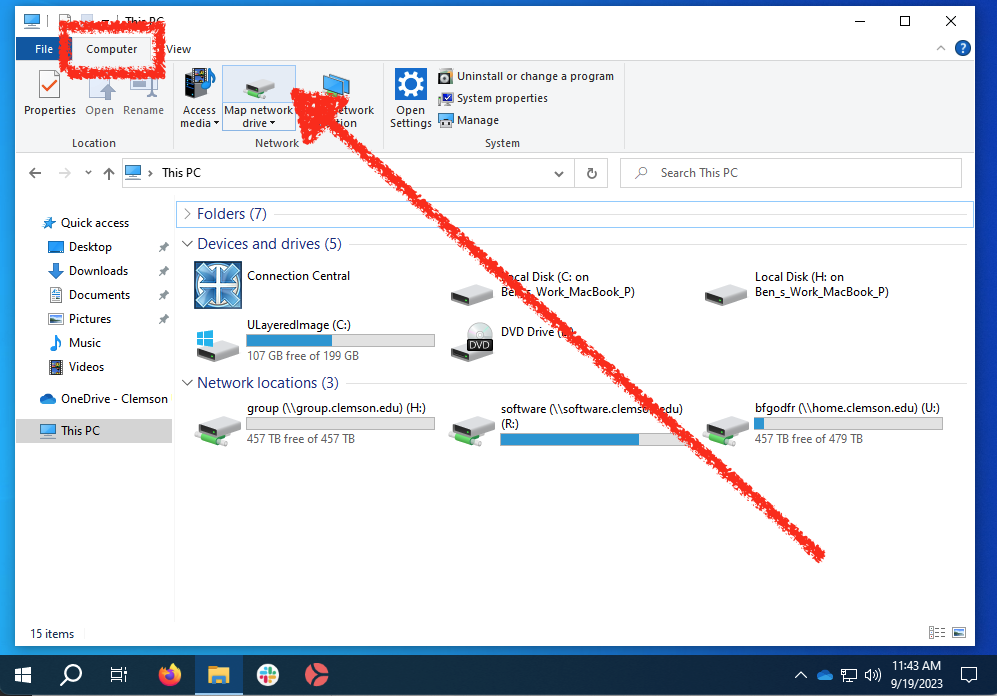
From the Ribbon at the top of the screen, under the Computer tab, select Map Network Drive.
-
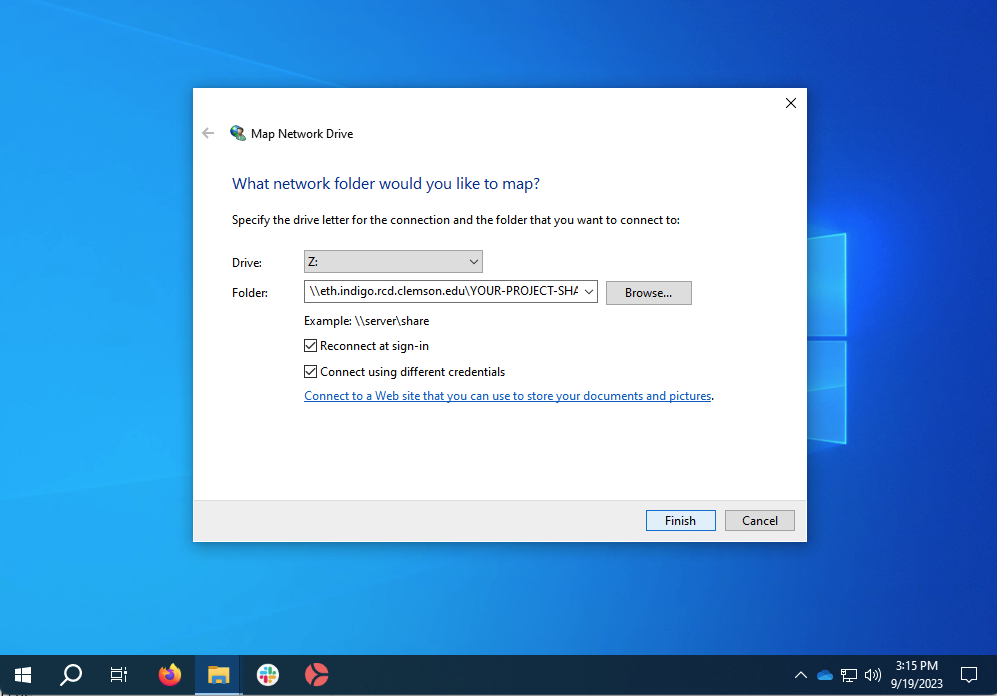
The Map Network Drive wizard screen should appear.
-
For the Drive field, select an unused drive letter of your choice.
-
In the Folder text field, enter the following address:
\\eth.indigo.rcd.clemson.edu\YOUR-PROJECT-SHARENoteYou must replace
YOUR-PROJECT-SHAREwith the share name for your space. This will be provided by our storage team when you request SMB access.ReminderAll access methods are disabled by default. SMB access to your space is only enabled if the owner has requested SMB access.
-
If you want this storage to be automatically mounted each time you log on to your computer, select the Reconnect at sign-in checkbox.
-
Select the Connect using different credentials checkbox so that you can provide your Clemson credentials on the next screen.
-
Press the Next button.
-
-
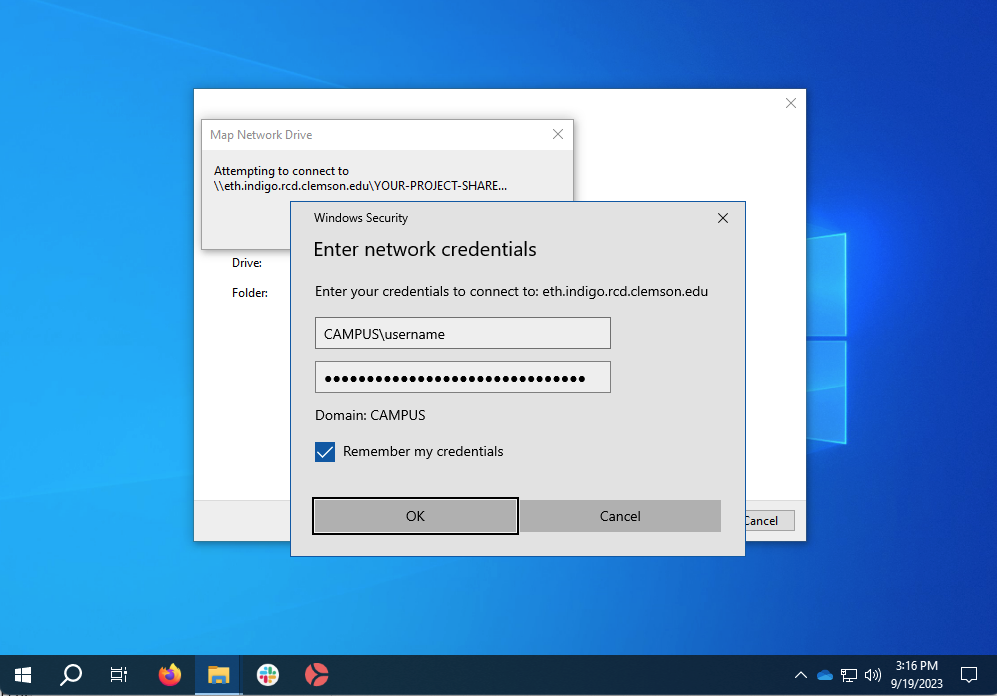
The Windows Security dialog box should appear.
-
In the User name field, enter
CAMPUS\username, whereusernameis your Clemson username.noteEnter just your username, not your email address (do not include the @ symbol).
-
In the Password field, enter your Clemson password.
-
If you are not using a shared computer and you would like for this computer to remember your Clemson credentials, you may select the Remember my credentials checkbox.
tipIf you selected the Reconnect at sign-in checkbox on the previous screen, the computer cannot automatically reconnect unless your credentials are saved.
-
Press the OK button to connect.
-
-
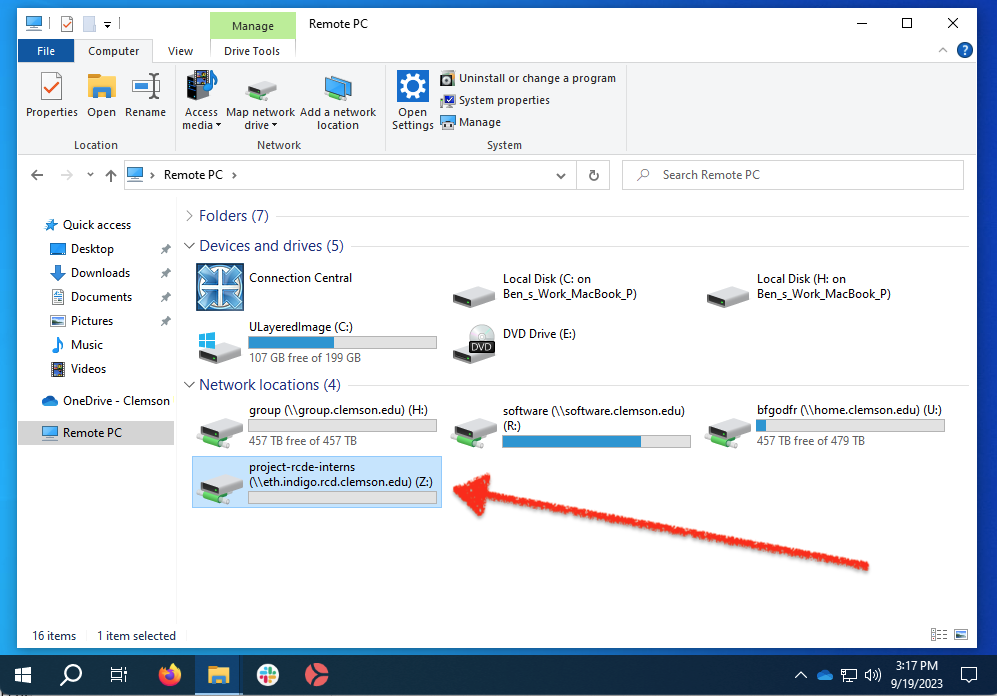
The storage should now be visible in This PC under Network locations using the drive letter you selected.