Jupyter Notebooks
Users can launch a JupyterLab instance on Palmetto through Open OnDemand. JupyterLab enables users to prototype and develop code in Python, R, MATLAB and several other languages, all from their web browser.
Starting a JupyterLab Server
-
Go to the OpenOD website.
-
Log in with your Palmetto user ID and password:
-
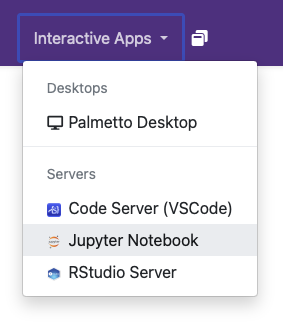
Once you are logged in, click on Interactive Apps on the top navigation bar.
-
Click on the Jupyter Notebook link.
-
Select the resources (CPU cores, memory, walltime, etc.,) required for your session.
Jupyter Resource Selection
-
Partition-work1is the default partition for all users. Users can select the owner partitions they have access to. -
Environment- Choose between Standard and Containerized versions of the app.Anaconda Version- The Standard environment will allow you to load a version of Anaconda and select the Conda environment or other Virtual environment for activation.Container Image- Enter either the full path to an already downloaded Apptainer image or the URI for one in a container registry. Examples below:- /software/containers/ngc/pytorch_23.06-py3.sif
- docker://jupyter/scipy-notebook
infoThe container image must contain everything needed to launch jupyter lab with all python packages installed.
-
CPU,Memory,GPUs,Interconnect- Choose the resources needed for the job. If not using an owner queue, CPU and Memory selection is limited to a few options. Sequential programs should only select 1 or 2 CPUs. -
Walltime- Walltime for interactive/OnDemand jobs is limited (see the wall time limits). If you need more time to run a notebook from start to finish, consider submitting a batch job. You can run Jupyter notebooks directly from a batch job.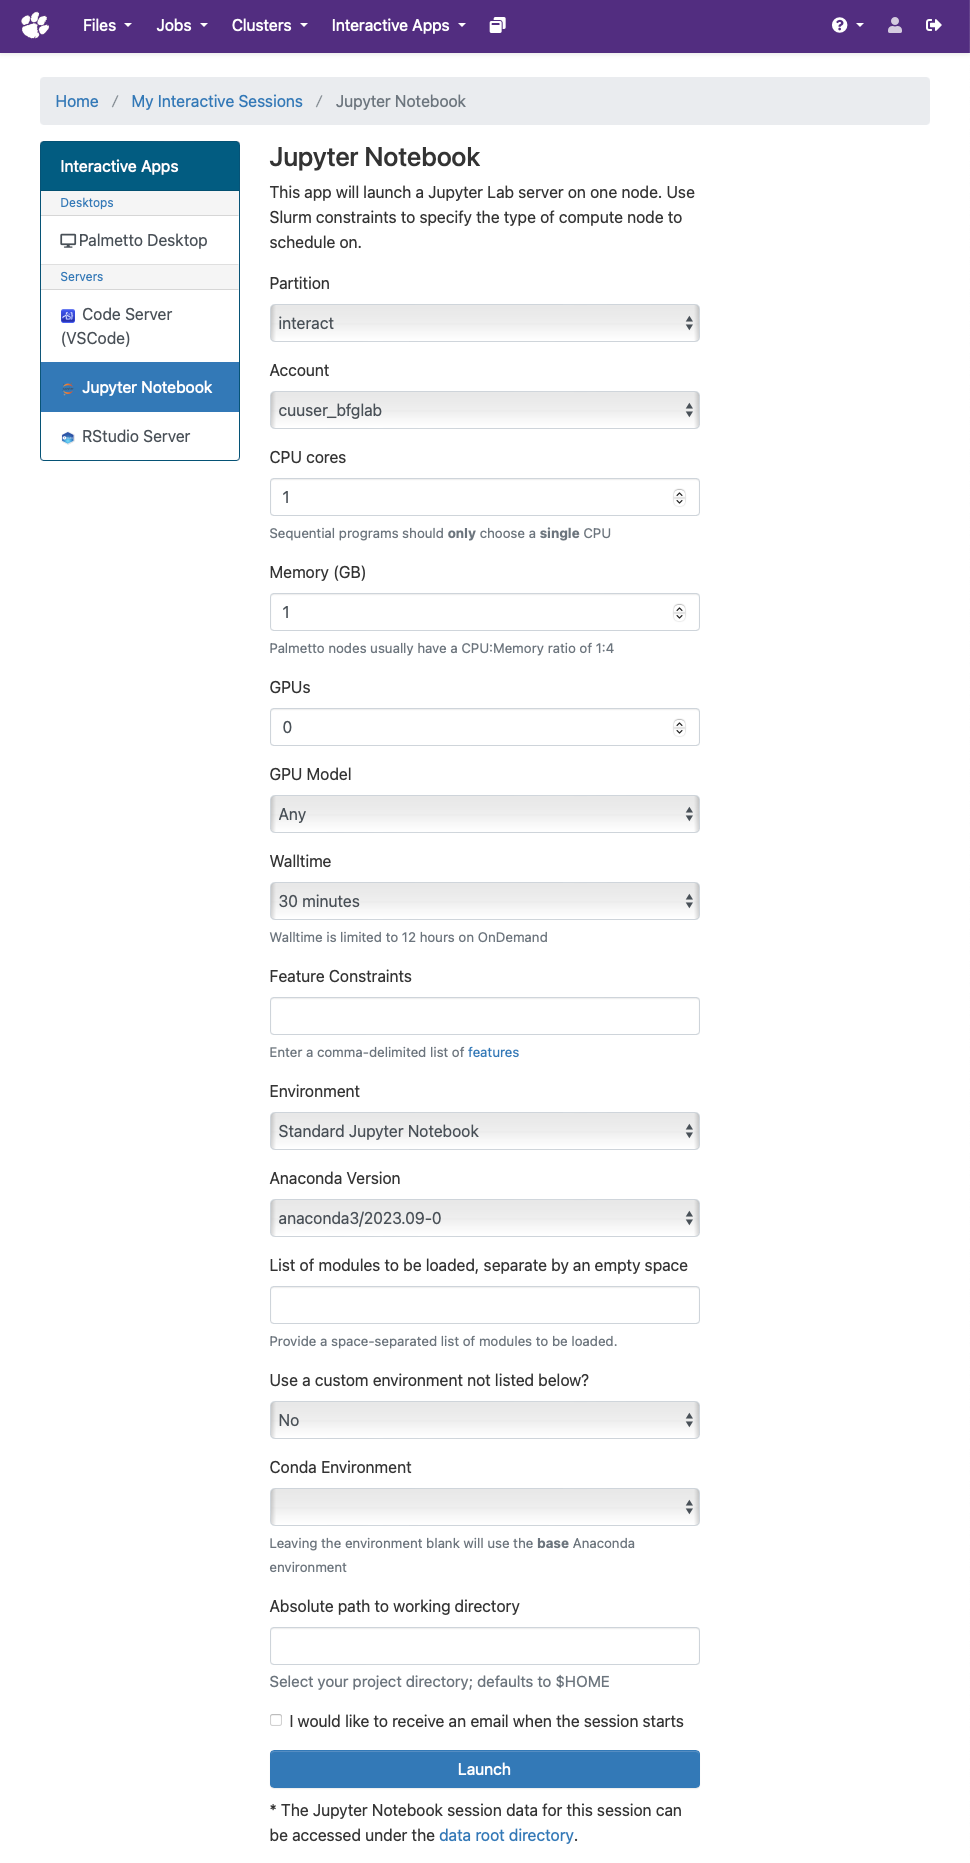
-
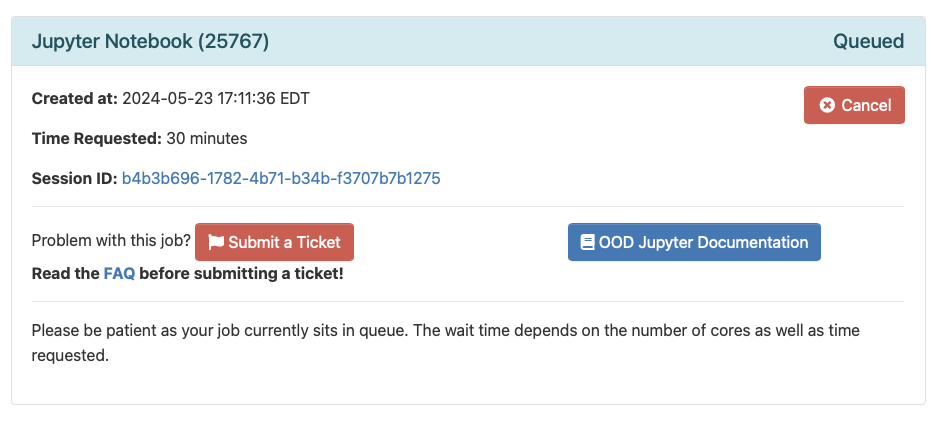
Once you launch your server you will be taken to your current list of interactive sessions. Your job will be queued until resources are available to handle your request.
-
Once your server has had it's resources allocated you can connect to your server with a button that says
Connect to Jupyter, your browser will then be sent to the JupyterLab dashboard.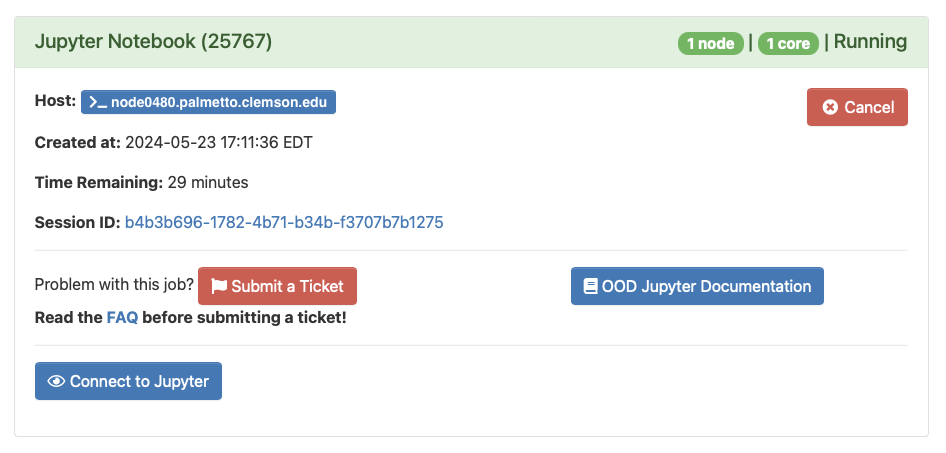
JupyterLab dashboard
After your Jupyter server successfully launched on Palmetto, your browser will present you with a JupyterLab dashboard.
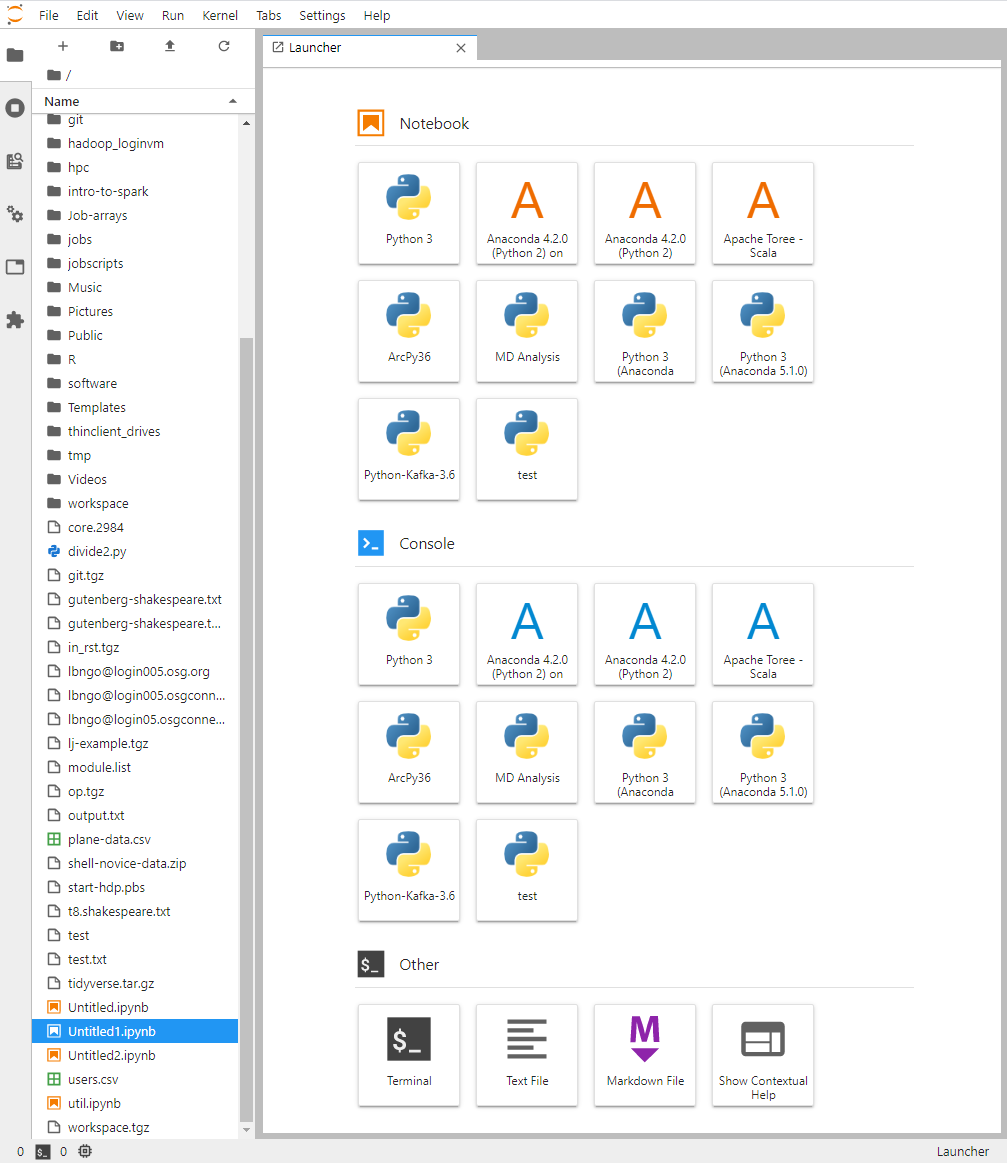
The dashboard is the primary interface of the notebook server. We are using the JupyterLab version of the dashboard to allow users more control over the notebook workspace inside the browser.
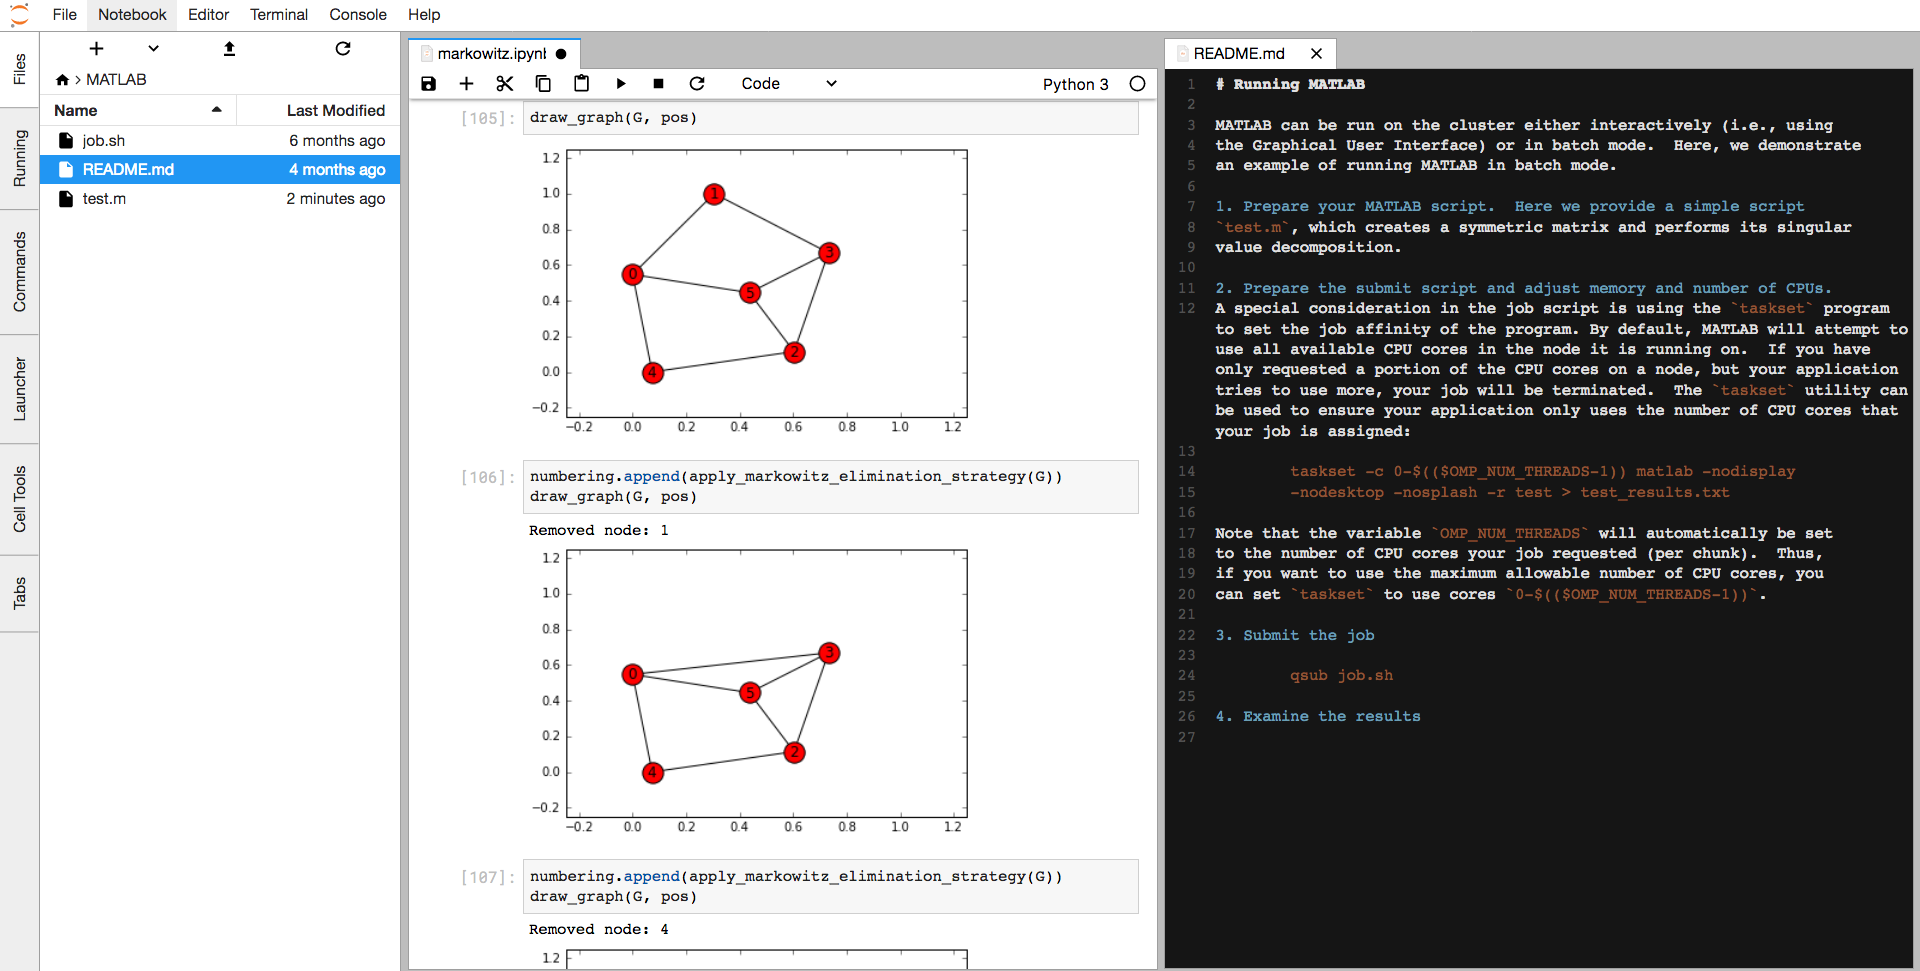
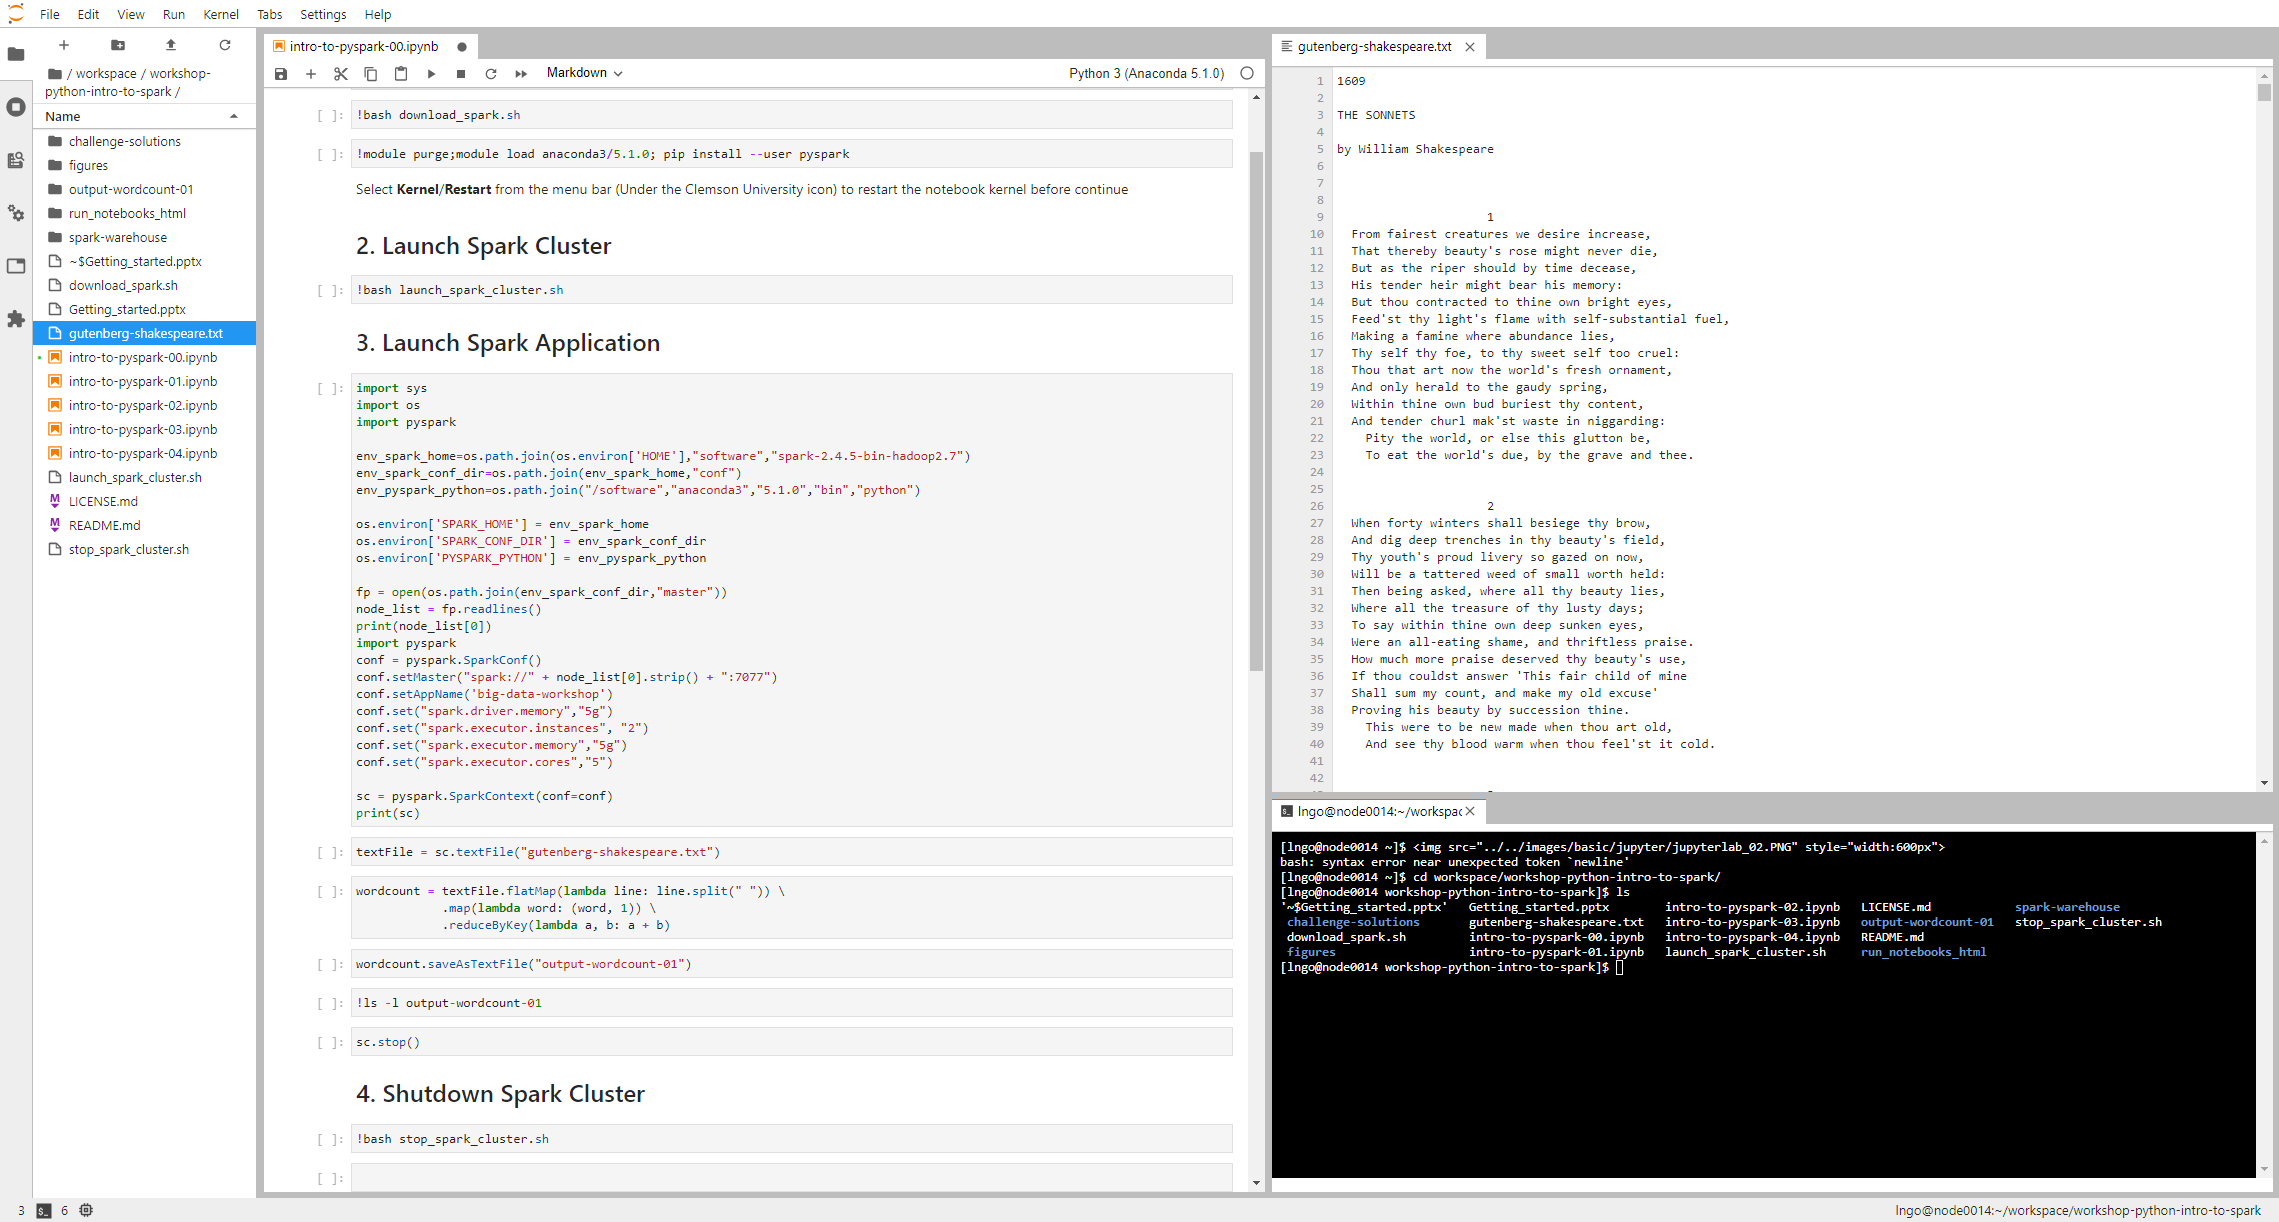
Files and folders
-
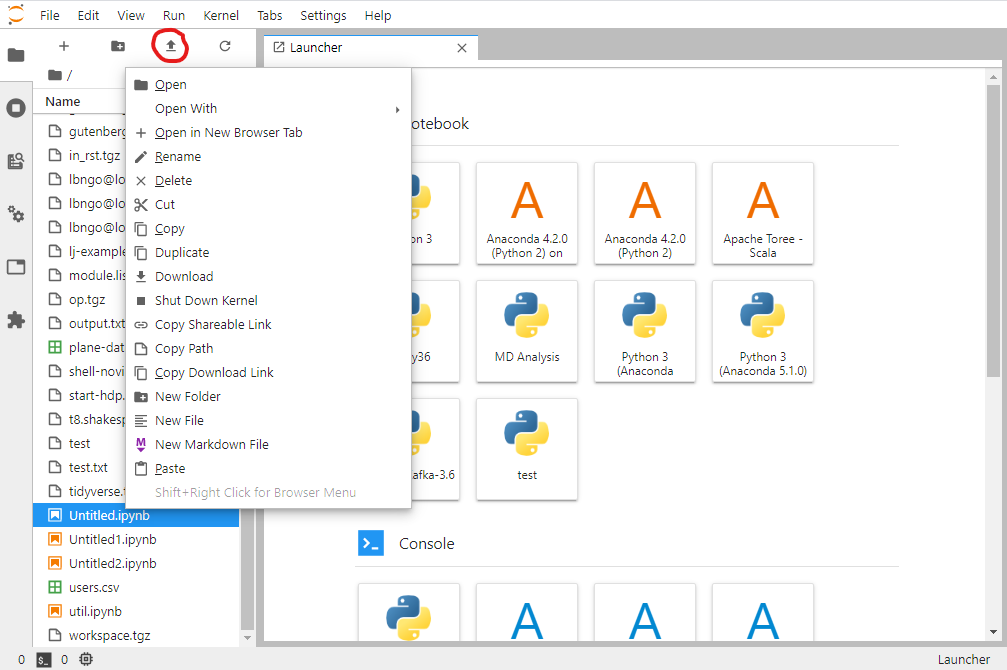
The files and folders are shown on the left vertical partition of the JupyterLab dashboard. Right-click on a file or folder will give you a number of operational options, as shown in the figure below.
-
To upload small files from your computer to Palmetto via the dashboard, click on the bold up arrow at the top of the file/folder areas (the red circle).
Launchers
- Launchers are tabs internal to the browser presenting the JupyterLab dashboard. Launcher represents a significant change to the traditional one-browser-tab-per-notebook/terminal presentation of Jupyter Notebook.
- On Palmetto, there are three types of Launchers:
Notebook,Console, andOther. Otherincludes browser-based terminal, text editors, and markdown editor.
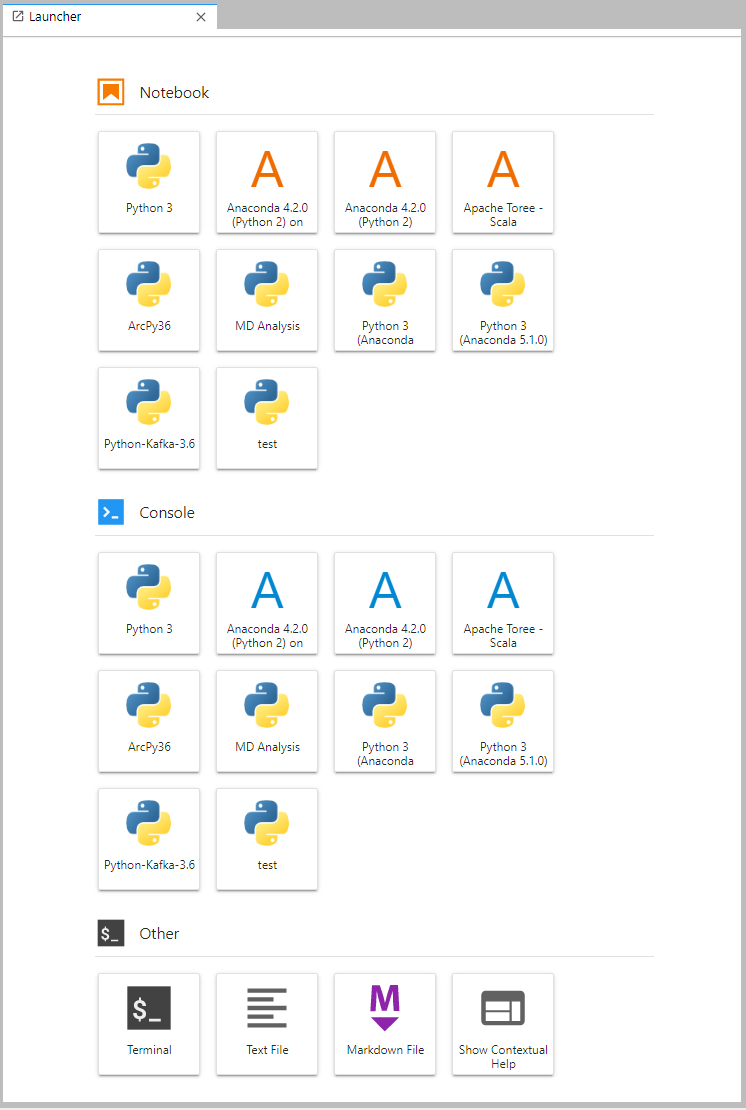
- The
Notebooklauncher will list all available Jupyter notebook kernels that your account has. - Click on a kernel will launch the corresponding notebook in the current launcher tab.

- The
Consolelauncher will launch a command-based interface for the available Jupyter notebook kernels that your account has (note the similar list as theNotebook launcher).
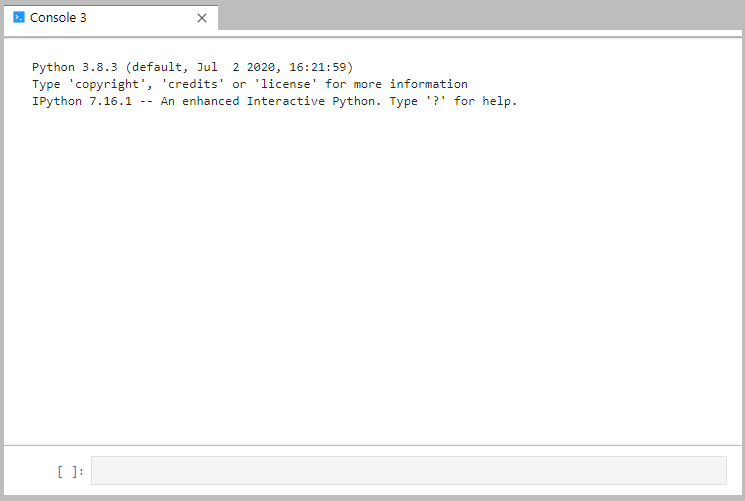
- An example of a terminal launcher tab is shown below, from the
Otherlauncher.

The most significant impact of the JupyterLab dashboard is its ability to rearrange multiple launcher tabs within the same browser, similar to a typical programming IDE. By dragging the tabs around, you can have a versatile work environment.
Adding new notebook kernels
Creating a kernel is not necessary, but the information below is still valid. To ensure the notebook is launched in your environment install jupyterlab into the conda environment. Put the "source activate" command into the launcher in Open OnDemand and use the default kernel when opening notebooks.
In addition to the default kernels provided (Python, R, and MATLAB), it is possible to create your own kernels. To install kernels for other languages, see the kernel setup instructions for other languages.
For custom Python kernels, we recommend using Conda environments, and ipykernel to generate a kernel from a Conda environment:
conda create --name myenv python=2.7
source activate myenv
conda install jupyter
python -m ipykernel install --user --name python_custom --display-name "My Python"
Other Jupyter Resources
Notebook gallery
A collection of Jupyter notebooks created for research and teaching across several fields in scientific computing, data analysis and related fields is available in this Notebook gallery provided by the IPython project.
Jupyter and IPython documentation
Users can read the official Jupyter Notebook documentation to learn more about how to user Jupyter.
IPython is the kernel used to create Python-based notebooks, which has its own kernel documentation.
For a list of packages useful for scientific computing and data analysis (and links to the relevant documentation), see here SciPy.